Buyer Guide
Impression-Tested Channels: A Beginner’s Guide
Understand what you are buying, how the test works, and the steps to take after delivery.
What is an impression-tested channel?
It is an existing YouTube channel where we have uploaded a test video and recorded how often YouTube displayed that video's thumbnail before listing the channel for sale.
You receive the channel and the account access described in the listing. The tier describes recorded activity on its test upload.
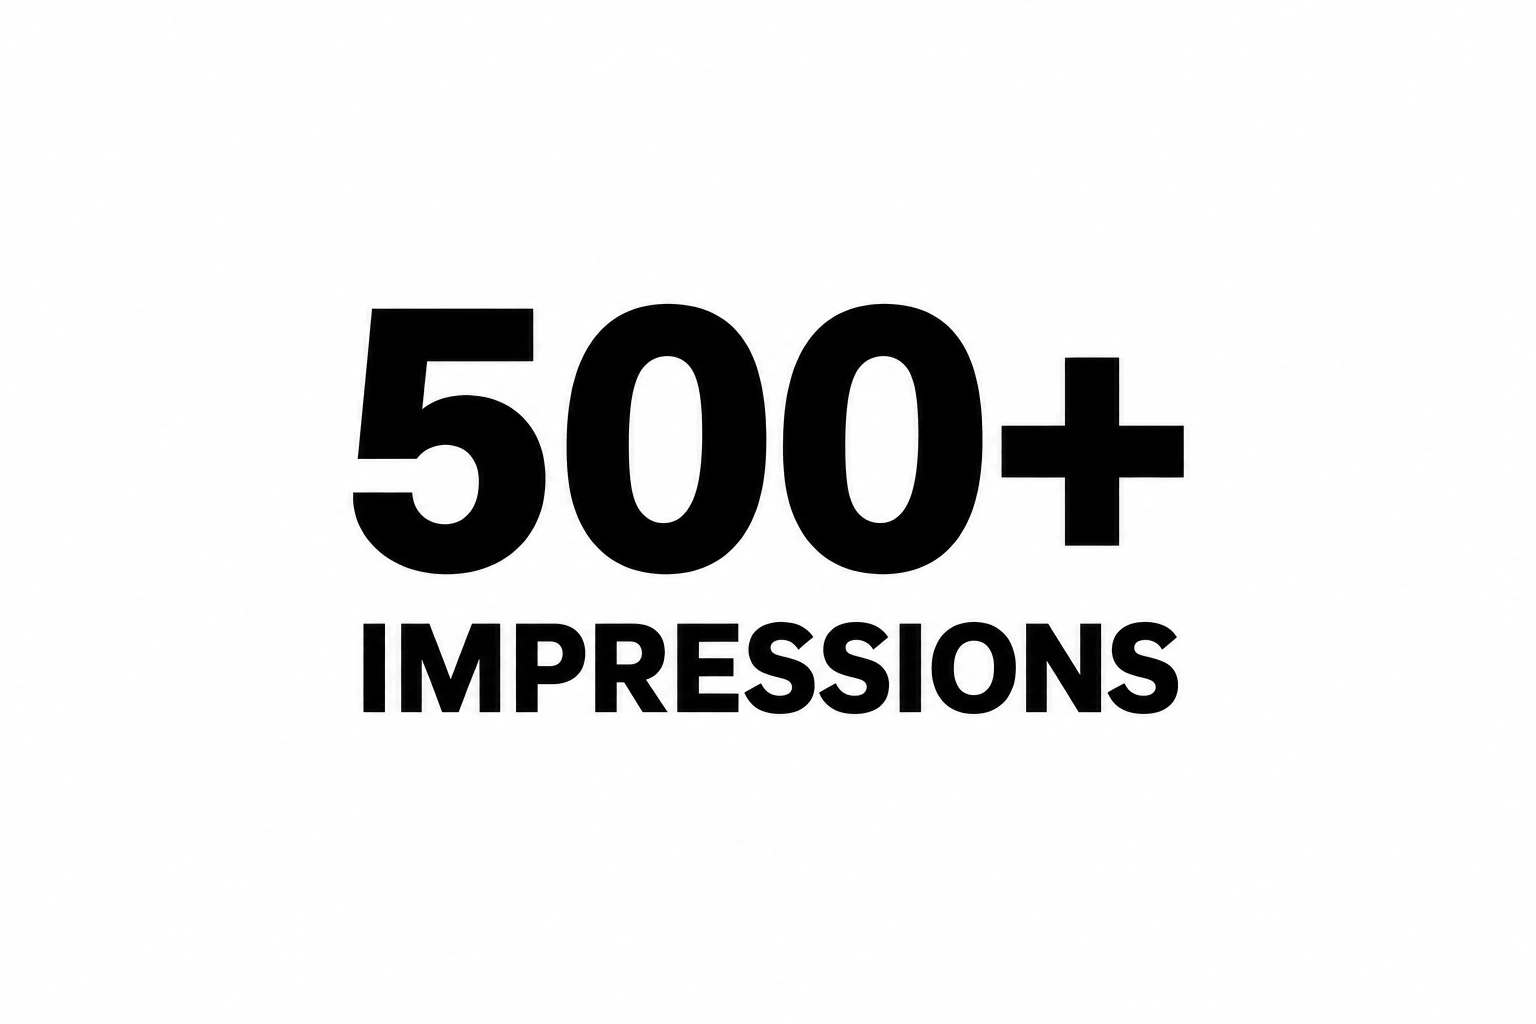
For example: a 500+ channel
The test upload recorded at least 500 thumbnail impressions when it was checked. You are buying that tested channel—not 500 views, 500 subscribers, or a package of 500 impressions for your next video.
Impressions and views are different
Think of a video's thumbnail as a shop window. Seeing the window is like an impression. Choosing to go inside is like clicking through to watch the video.
The thumbnail was displayed
100 times.
Five views came from
those impressions.
A made-up example to explain the counts—not a predicted result. Impressions count displays, so they do not necessarily mean 100 different people.
YouTube counts eligible thumbnail displays on its platform; not every place a video appears counts as an impression. Read YouTube's explanation ↗
We test first. You choose the recorded starting point.
Prepare the account
We use Gmail and YouTube before the channel is offered for sale.
Upload a test video
Each channel receives its own video, rather than reusing one upload across our stock.
Record impressions
We check the test video's thumbnail impressions in YouTube Studio.
List the channel
The recorded result determines the impression tier shown in the catalog.
Think of it as a test-driven car
A test drive gives you a record of how the car performed during that test. It does not promise how every future journey will go. In the same way, the test upload gives you a recorded starting point; your own videos still need to attract and keep viewers.
| What you see | What it means |
|---|---|
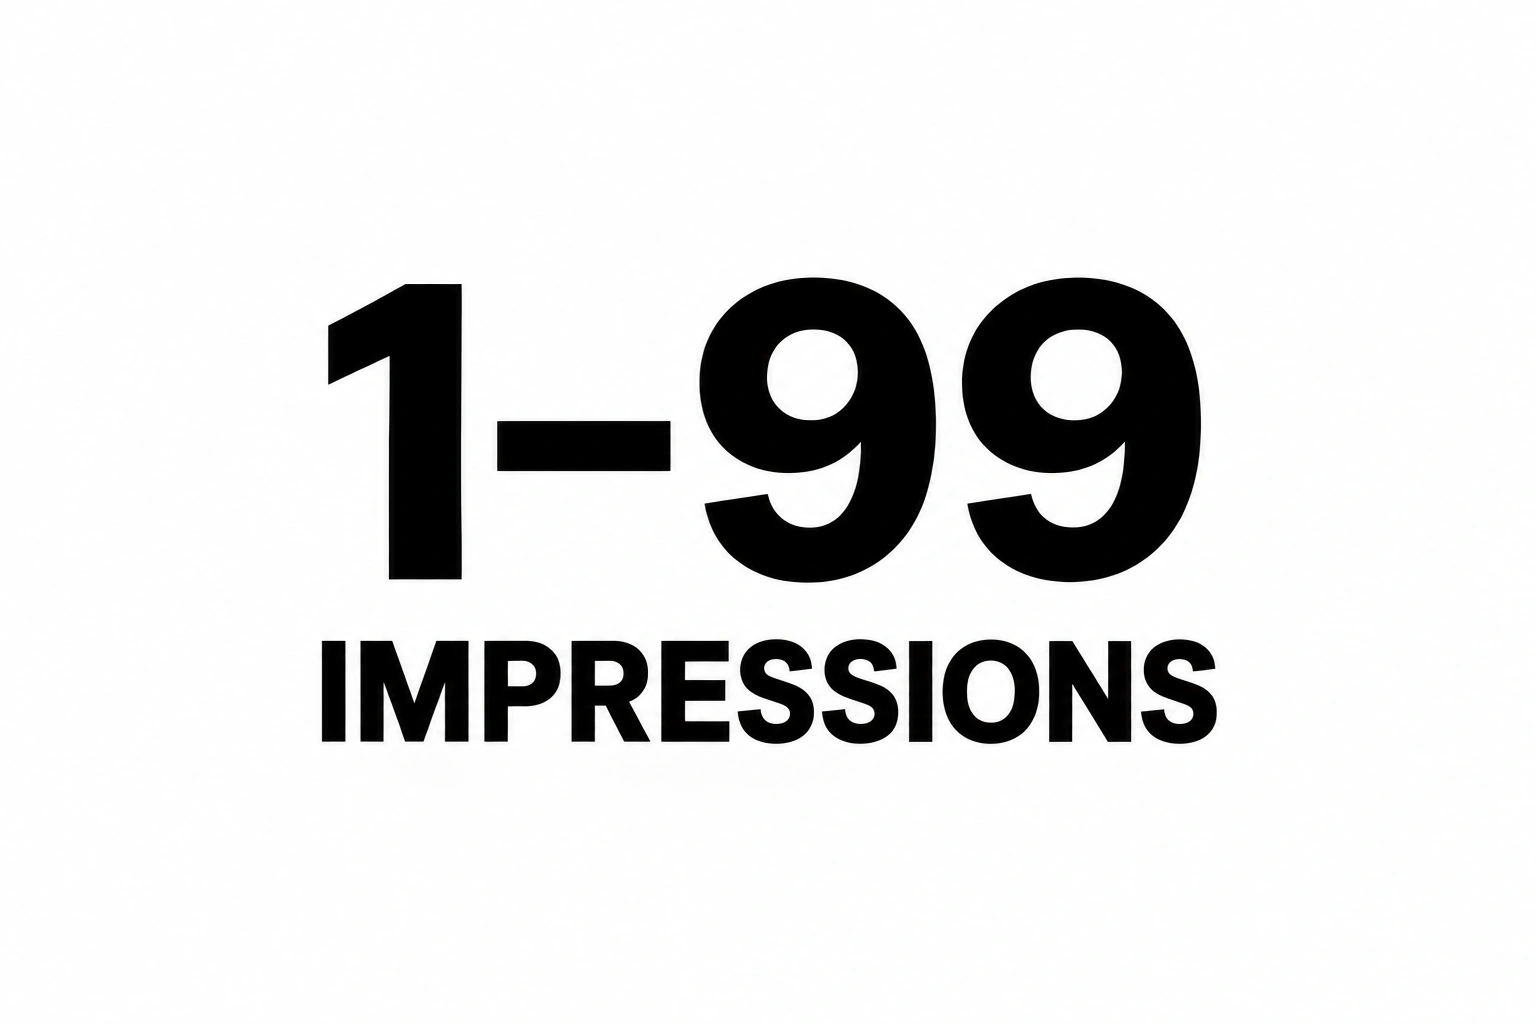
| 1–99 impressions | The recorded test result falls within that range. |
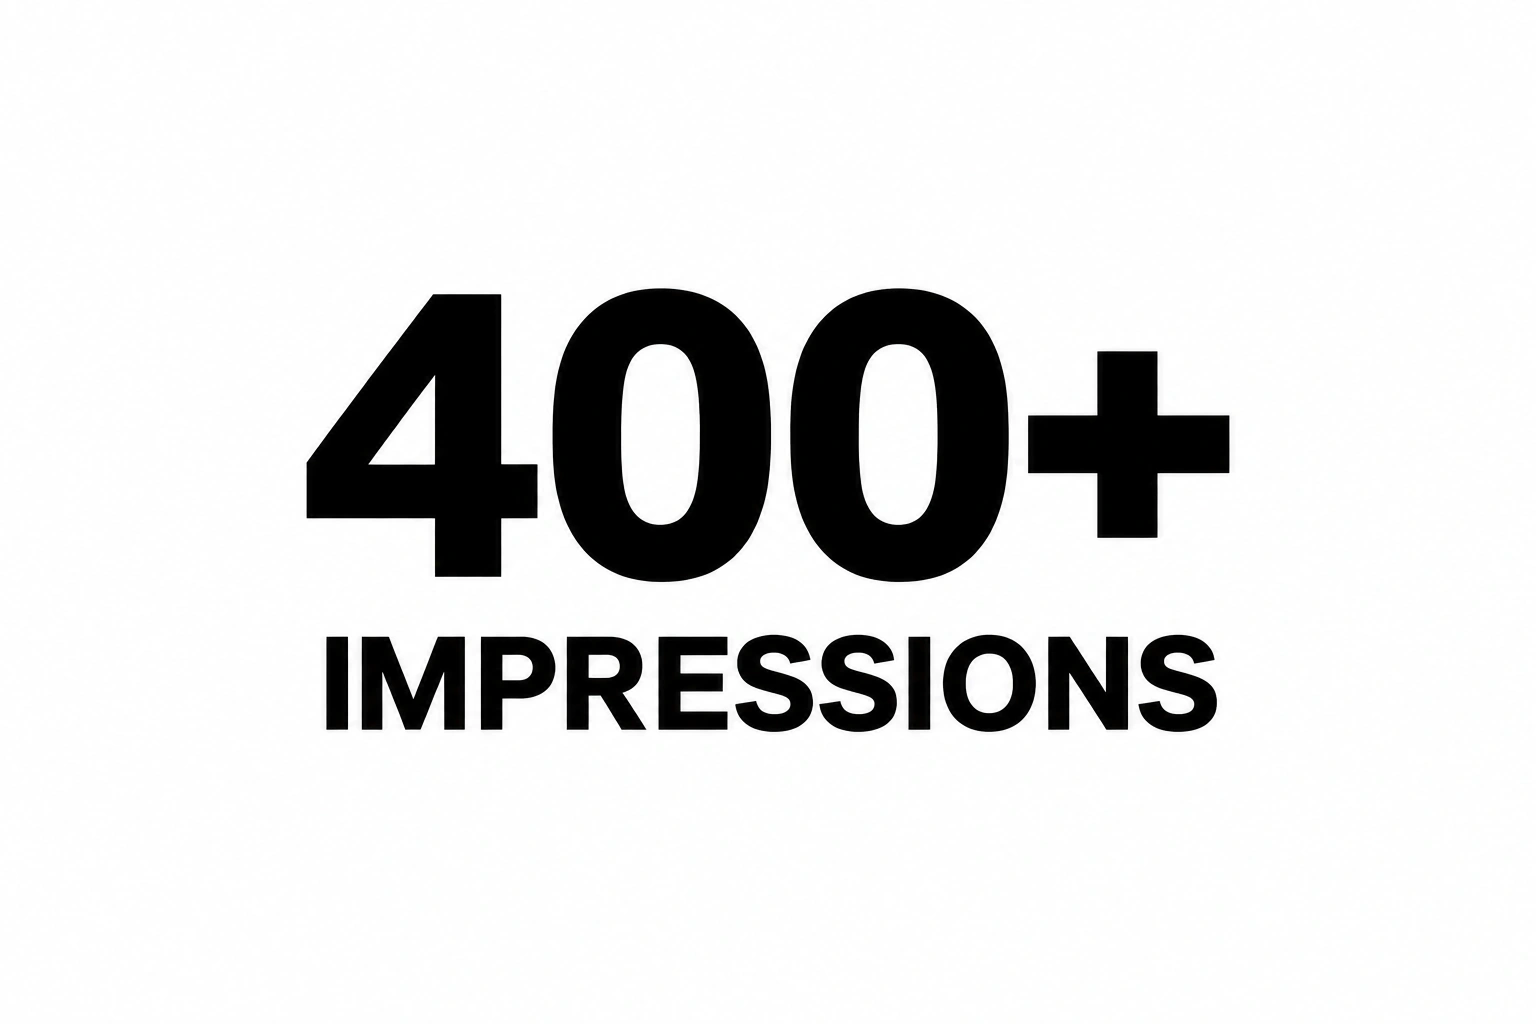
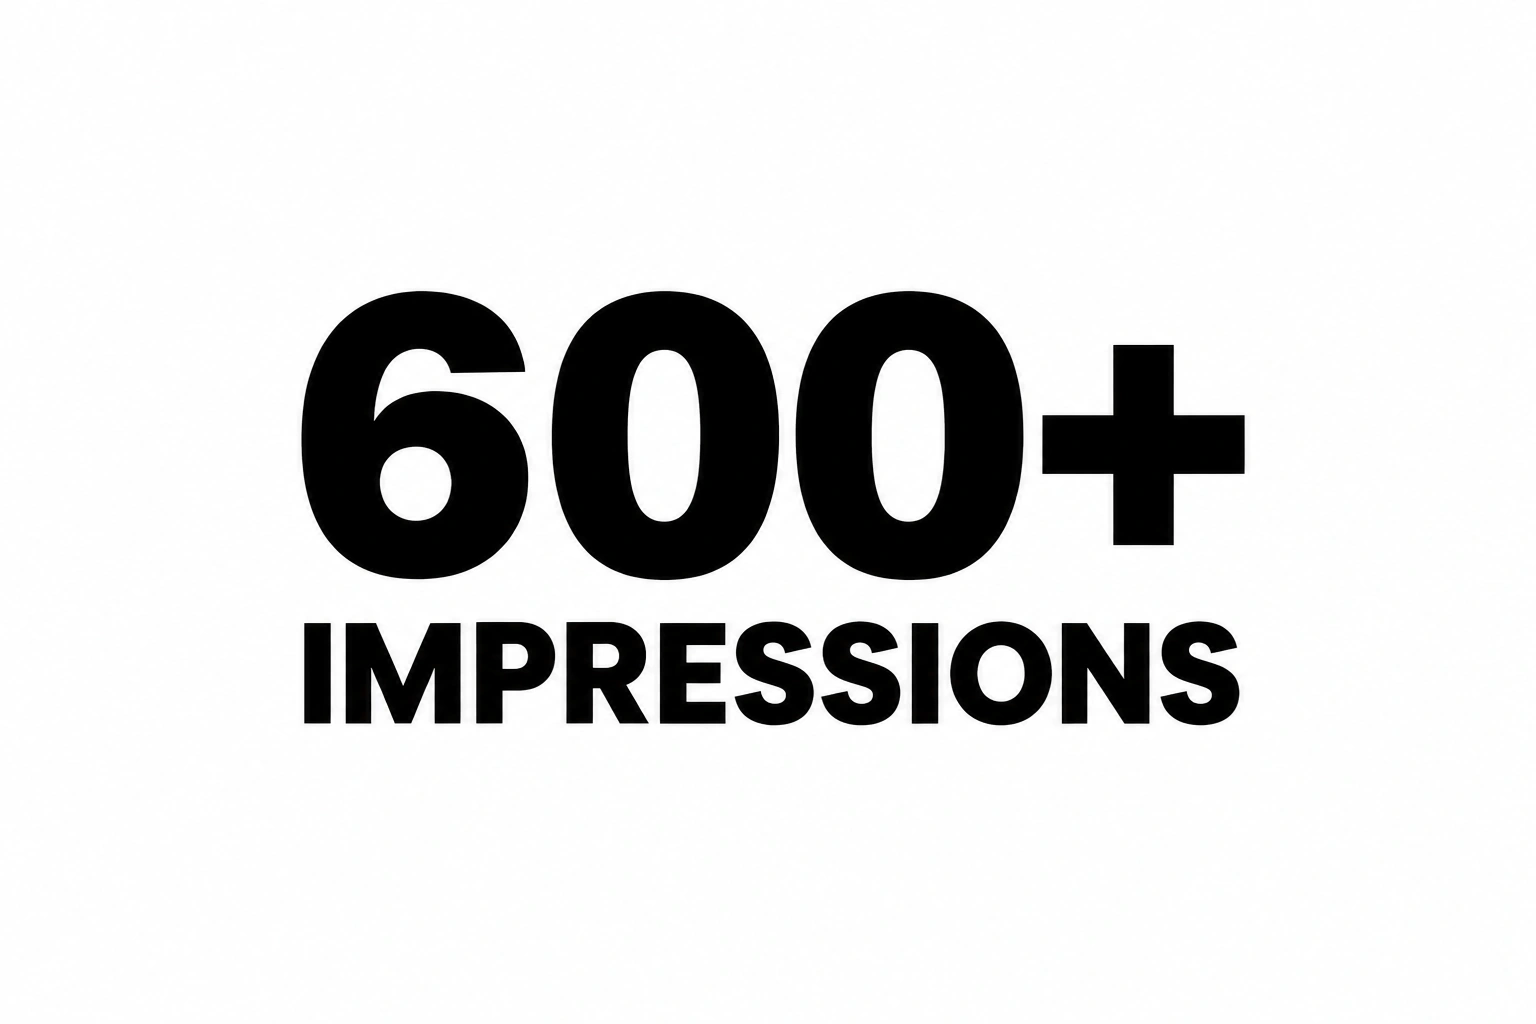
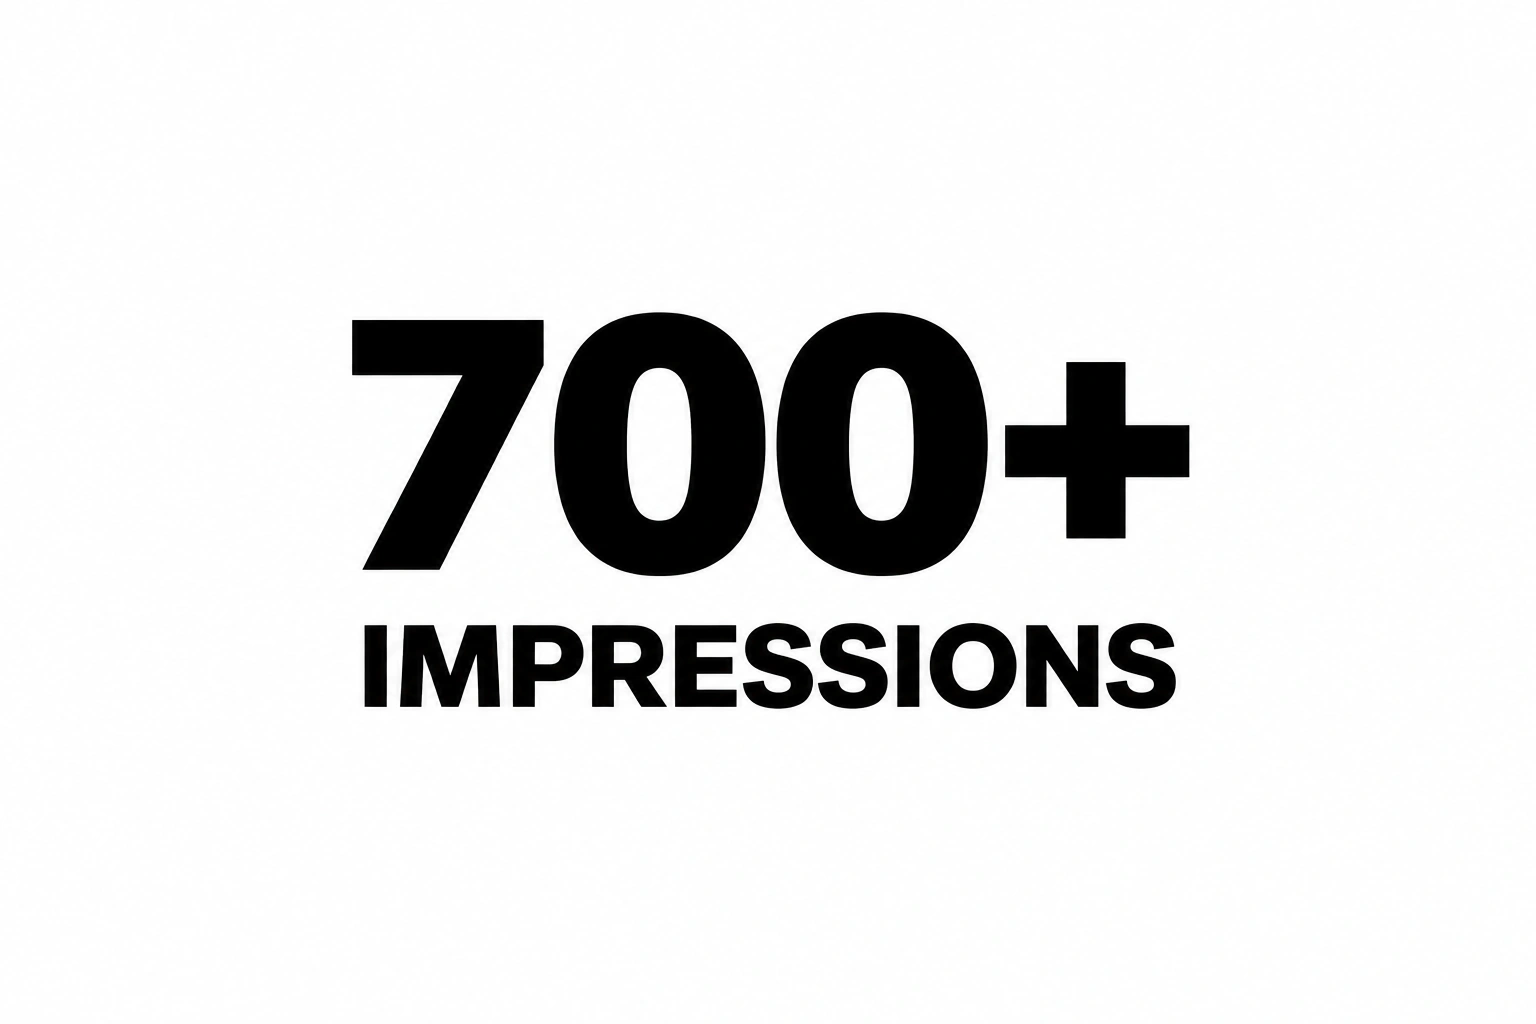
| 100+, 500+, 1K+ … | The test upload reached at least the listed number of impressions when checked. 1K means 1,000. |
| Your next upload | Starts with its own performance. The previous test's impressions are not transferred to it. |
About “trust score”: this is shorthand used on our site for a tested starting point. The impression tier is not an official YouTube trust rating, and it does not guarantee recommendations, subscribers, monetization or earnings.
What should I do after buying?
- Open your completed order.Your account details appear on the order page after payment is confirmed. Check your delivery email too.
- Sign in and check access promptly.Use the supplied email, password and 2FA information. The sign-in walkthrough below explains each step.
- Upload your own original videos when ready.You can start from day one. Choose a clear topic, title and thumbnail; check your new video's performance in YouTube Studio. A higher tier does not make every upload perform better.
- Follow the first-week account-care instructions.For the first seven days, leave the delivered account's security settings and existing test video unchanged. See the full first-week checklist.
- After seven days, secure the account with your details.Update the password, recovery information and two-step verification using the security checklist.
Example: you buy a 1K+ channel today
Sign in and check that it opens. You can upload your own video today. Its impressions may be lower or higher than the old test video's result; watch its own analytics instead of expecting an automatic 1,000-impression boost.
Login problem? Report it within 48 hours of purchase with your order ID and a screenshot of the error. The seven-day account-care period does not extend that warranty. See warranty and support details ↓
How do I pay for a channel?
- Choose your channel and quantity.Check the available stock, then add the channel to your cart or choose Buy Now. You can pay directly for an order; adding store balance first is optional.
- Choose a supported payment method.Read the coin and network shown on checkout. USDT on Ethereum and USDT on Solana use different networks.
- Copy the address from that order’s checkout.In your wallet or exchange, select the same coin and network. Check the address after pasting it. Do not reuse an address from another order.
- Check what the recipient will receive.The amount arriving at the checkout address must match the crypto amount requested. Review the fee and withdrawal minimum before confirming.
- Send once, then check your order.Payment needs network confirmation before delivery. A completed withdrawal from your exchange does not by itself mean the order has finished processing. Keep the transaction ID (TxID).
Match both labels
Checkout says USDT (ERC20) · Ethereum? Send USDT using Ethereum (ERC20). If your wallet only offers another network, choose a matching payment option on checkout before sending. A similar-looking address does not make different networks interchangeable.
The order amount must arrive after fees
Your wallet or exchange may charge a network or withdrawal fee. That fee is separate from the amount requested by checkout. Some services deduct it from the amount you enter; others charge it on top. Check the final “recipient receives” amount before sending.
Example: checkout requests 10 USDT
Suppose your sending service deducts a 1 USDT fee from the amount you enter. Entering 10 USDT would deliver only 9 USDT. In this example, entering 11 USDT delivers the required 10 USDT.
| How your service charges | What to check |
|---|---|
| Fee deducted | For a 10 USDT order and a 1 USDT deducted fee: 11 USDT sent − 1 USDT fee = 10 USDT received. |
| Fee added on top | Send 10 USDT; pay the fee separately. If the fee is 1 USDT, your total debit is 11 USDT while checkout receives 10 USDT. |
| Fee paid in another coin | A self-custody wallet may send 10 USDT and charge gas separately in ETH on Ethereum or SOL on Solana. Have enough of that network’s fee coin available. |
These are made-up amounts to explain the calculation. Actual fees, minimums and how fees are charged depend on your sending service and network. Use the current checkout’s requested crypto amount, not a dollar estimate. Do not automatically add 1 USDT or send extra if the recipient already receives the exact amount.
Quick check before you confirm
Same coin + same network + correct address + exact amount received. If the fee or withdrawal minimum makes a small payment impractical, check another supported method before sending.
What does “Balance” mean?
Balance is prepaid credit in your YTbase customer account. A Balance ×50 checkout represents a $50 top-up attempt—not 50 channels. Credit becomes available after successful payment; simply opening a top-up checkout does not add money.
A simple example
If your account has $20 of available balance and you buy a channel priced at $12, spending $12 of credit leaves $8. This example assumes no other charges. Checkout shows how your available balance is applied and any remaining amount due.
You do not need to top up first. You can choose a channel and pay for the order using the methods shown at checkout. Check your customer balance if you already added credit.
Left checkout or payment not completed?
- Have not sent money?Return to your order if its payment instructions are still valid. If it has expired, return to the catalog and start a new order; stock and prices may have changed.
- Already sent money?Do not pay again immediately. Check the coin, network, recipient address, amount received and transaction status in your sending service. Keep your TxID.
- Sent too little after fees?Follow any remaining-payment instructions shown on the order. If none are shown, contact support before sending more, especially if the order has expired.
- Still stuck?Open a support ticket with your order ID, payment coin and network, amount, TxID and a screenshot of the problem. Never share your wallet seed phrase, private key, account password or 2FA secret.
Find existing orders in your customer orders or use the original order link. If you receive a checkout reminder, check whether you already completed another order before paying.
🔐 Fix g.co/se issue
If Google shows “Get a code to sign in” and directs you to g.co/se, it is asking for an additional security check. If you have the supplied 2FA secret, try the authenticator sign-in option instead:
- On the Google sign-in screen, click Try another way.
- If offered, select Get a verification code from the Google Authenticator app.
- Use the supplied 2FA secret to generate a current six-digit authenticator code, then enter that code on Google’s sign-in screen. Follow the step-by-step sign-in instructions for generating your code.
Option not shown or still unable to sign in? The available methods depend on Google and the account. This is not a guaranteed fix. Do not change the account’s security settings to try to bypass the check. Contact support promptly with your order ID and a screenshot, within the reporting window stated on your product page. Hide passwords, 2FA secrets and active codes.
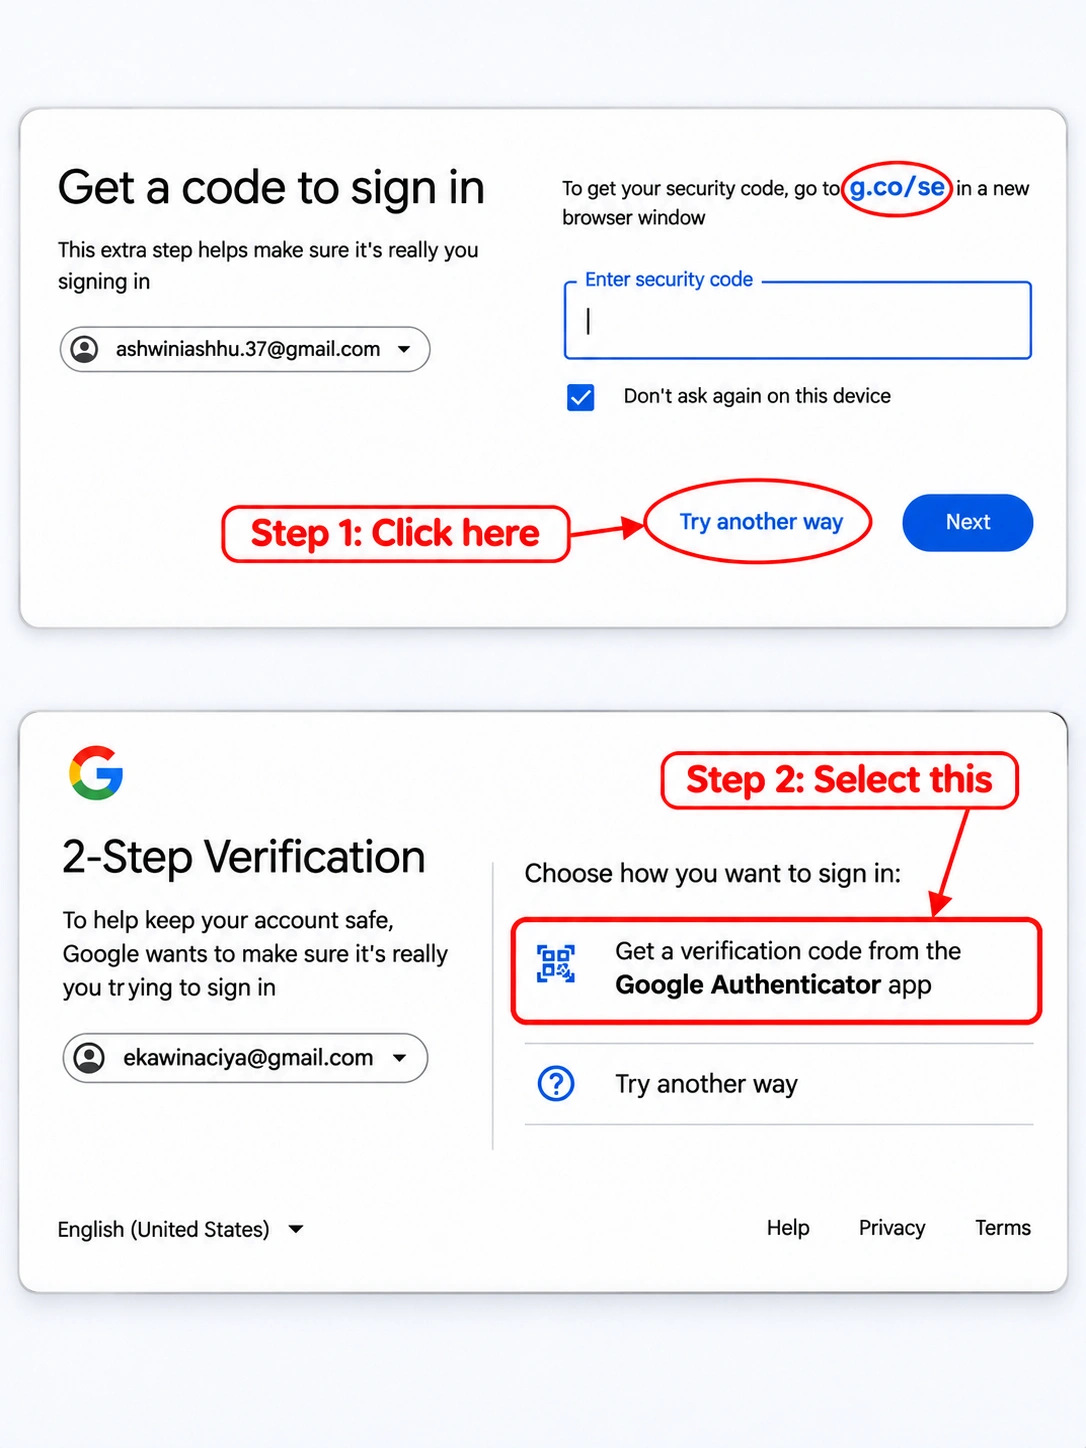
Google chooses which verification methods are available. Google’s verification help ↗
Detailed setup & support instructions
Use the sections below when you are ready to sign in, secure your account, or get help.
Choose the channel that fits your plans
Each listing identifies its impression tier. Compare the product specifications, price, and availability before you order.
- Read the range: 1–99 is a range; the other tiers use the number shown on their listing.
- Check what is included: the product page explains account preparation, delivery, and warranty.
- Plan for your own content: previous impressions do not guarantee future views, subscribers, or monetization.
Is a tier sold out?
Check the live product page for availability. Ask support if you need help choosing an alternative; a restock date is only confirmed when we announce one.
I paid, but the order has not completed
Check your order page for its current status. If it remains incomplete, open a ticket with your invoice ID, payment method, and transaction ID. Do not send a second payment while the first is being checked.
Your first sign-in, without the guesswork
- Open the completed order.Find your delivered login details on the order page. Check your delivery email too.
- Enter the supplied Gmail and password.Use them to sign in to YouTube.
- Generate the verification code.If asked for an authenticator code, paste the supplied 2FA secret into the “2FA Secret” field at 2fa.live and click Submit. Copy only the six digits after
|, then enter them on Google's sign-in screen. - Check your access.Confirm that the channel opens. Store your delivered details securely.
Where can I find my order ID?
Open your completed order or purchase email and look for the invoice ID. Copy the full identifier when contacting support; a crypto transaction ID identifies the payment, not the order.
A simple plan for the first seven days
You can upload your own videos from day one. Follow the account-care instructions below during the first seven days from your first sign-in.
DO
- Sign in and check that the channel is accessible.
- Upload your own videos when you are ready.
- Keep your order details somewhere you can find them.
- Report a login failure within the 48-hour warranty window.
LEAVE UNCHANGED FOR NOW
- The account password.
- The recovery email and phone number.
- The two-step verification settings.
- The existing uploaded video—do not edit or delete it.
- The channel name, handle, profile image, and banner.
- Channel managers and ownership settings.
Put your own security details in place
After seven days of use, update the account settings to details you control.
- Open your Google Account security settings.
- Set a unique password and save it securely.
- Configure two-step verification with your own authenticator.
- Update the recovery email and phone number to your own.
- Save the new recovery information and backup codes privately.
Keep access to your current sign-in method until you have completed and checked your changes.
Start with the screen in front of you
The password or verification code is rejected
Copy the email and password carefully, without extra spaces. For 2FA, generate a fresh code and enter only the six digits after the separator. If it still fails, capture the error and contact support within 48 hours.
Google asks for a phone or another verification method
Check the information included in your order. If the requested method is unavailable, stop and open a support ticket with a screenshot of the prompt. Do not assume that SMS access or a phone-renewal service is included.
Google shows a temporary sign-in restriction
Follow the waiting period shown by Google rather than repeatedly retrying. Report the issue within 48 hours even if the screen tells you to wait longer.
A QR code, identity check, or repeated sign-out blocks access
Save a screenshot and the exact message, then contact support within 48 hours. Follow Google's on-screen instructions only when you understand the request. If an optional setup screen has a “Not now” or “Skip” option, you can leave that setup for later; required security checks cannot be skipped.
Google says the password was changed
Recheck the delivered account details. If you did not change the password, report the message with your order ID and screenshot. Include when you first noticed it and whether you previously signed in successfully.
The account or channel has been disabled
Save the notice and report it promptly. If Google or YouTube offers an appeal, describe the situation honestly through that process. An appeal and a YTbase warranty request are separate; include the notice in your support ticket so the issue can be reviewed.
The channel opens, but a new video gets few impressions
An impression tier describes the listing's tested activity. It does not promise how YouTube will distribute your next upload. Review your content, title, and thumbnail separately from account access.
Phone verification and recovery access
Use the recovery information supplied with your order. A phone-verified account does not automatically include access to its SMS inbox or a renewable phone-number service.
- If Google requests a number or recovery method you cannot access, send support a screenshot rather than guessing a code.
- Do not expect verification codes to appear in your YTbase order unless that service is explicitly included in the listing.
- After the first week, use a recovery email and long-term phone number you control.
Keep your recovery details current so you can use Google's recovery process if needed later.
Use your own Google account as the owner
If you want to manage the channel from an existing Google account, review its ownership setup after the first week. Transferring a YouTube channel does not transfer the delivered Gmail inbox.
- Check whether the channel is linked to a Brand Account.
- For a Brand Account, invite your own Google account as an owner and accept the invitation.
- After that account has held the owner role for at least seven days, follow Google's steps to assign primary ownership.
- Confirm access from your own account before changing any existing ownership access.
These ownership waiting periods are separate from YTbase's first-week guidance. See Google's ownership instructions.
The channel is not linked to a Brand Account
Read YouTube's channel-move instructions before making changes. A move can replace and delete a destination channel. Check the source and destination carefully and do not proceed if the confirmation is unclear.
Login warranty & getting help
YTbase offers replacement or refund for login failures reported within 48 hours of purchase. A screenshot showing the login error is required. No replacement or refund will be provided without screenshot evidence.
Include in your ticket
- Your invoice or order ID.
- The affected product and purchase date.
- A screenshot of the exact error or verification screen.
- A short account of what happened and any settings you changed.
Protect your sign-in details
Do not include passwords, 2FA secrets, backup codes, or active verification codes in your screenshots or ticket message.
Check your access soon after delivery so there is time to report any problem within the warranty window.
Keep follow-up messages about the same issue in the existing ticket. If several orders are affected, list each invoice ID and identify which screenshot belongs to which order.
Need a hand with your order?
Send the order ID, a clear description, and a screenshot of the error. We can review the issue with the right details in one place.
Log in to your account
No matches here — press Enter to search everything.
Type to search products.